Color a Dry Erase Board Black and Draw a Heart
If you're looking for cool things to do with dry erase markers, you have to check out this floating ink experiment! It's a fun and easy science activity to do with kids and a great party trick that will "wow" the grown-ups too.
I have another very cool dry erase activity for your kids to try. It's a dry erase and water trick that's going to blow your kids' minds! We've used the Dry Erase Markers with Ink Indicators that the good folks at EXPO sent us, and we've made drawings that float on water!

I didn't even know that dry erase ink could float until I saw the dry erase stick-man trick (more on that in a bit) making its way around the web a few months back.
That trick looked so awesome that we were inspired to try it ourselves but instead of making floating stick-men, we made floating hearts.
Check out this video that I shot for you:
How fun is that?!!
The kids were fascinated! They did the experiment over and over again, testing different colours of ink and different writing surfaces. This is definitely a science activity that kids AND adults will love.
You may also love these 5 dry erase activities that don't require a white board.
Supplies:
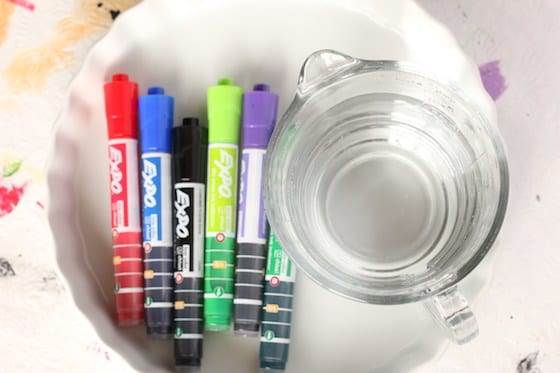
To do the Dry Erase and Water Experiment, you'll need:
- EXPO Dry Erase Markers (affiliate link)
- dinner plate or baking dish
- jug of water (we also experimented with medicine droppers)
- Towel or vinyl table cloth to protect your work surface
A note about our drawing surface:
We experimented with a few different surfaces for this activity. I've heard you can use any glass surface or even a laminate table top, but we wanted to contain our water, so we tried the experiment with 3 types of plates:
- a white ceramic quiche dish
- a white dinner plate
- white disposable plastic plates
How to Make Dry Erase Ink Float
- Test your markers
Test your markers to make sure the ink is flowing well.
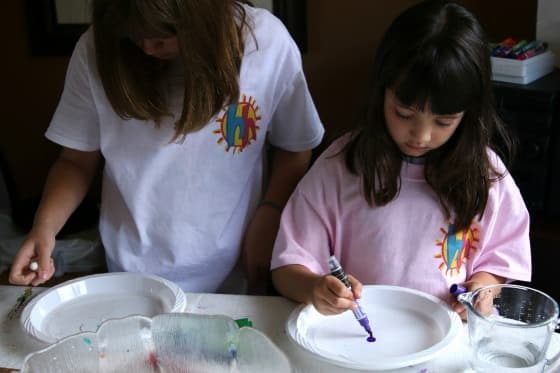
- Draw shapes
Draw shapes, stick figures or letters on your plate or baking dish.
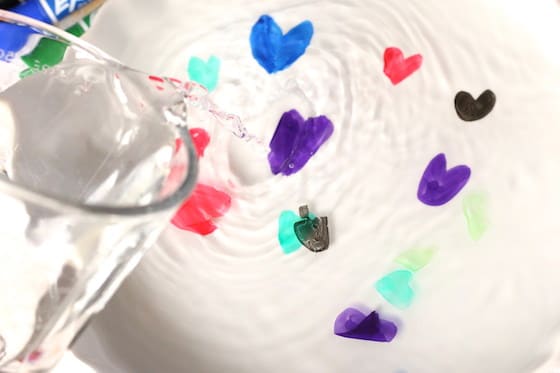
- Add water
Pour water into the dish close to the edges of your drawings.
Within seconds, you'll see the dry erase ink reacting with the water, and the edges of your drawings will begin to lift. As you add more water, the ink will lift away from the bottom of the dish and float to the surface of the water. Note: Some of your drawings may only lift a little, and some might not at all. Our results were different every time.
Experiment again and again
We had a great time doing the experiment over and over again, pouring out the water, drying the dish, and trying new shapes and colours to see what would happen.
Make observations
It was fun to make observations to try and determine what factors made the experiment work best. Have your kids do the same. Here are some questions to ask your kids to think about when doing the dry erase and water experiment:
1. Is there a colour of ink that works best?
Is it the colour of the ink? Does it depend how thick the layer of ink is? See if your kids can nail down what works best for them.
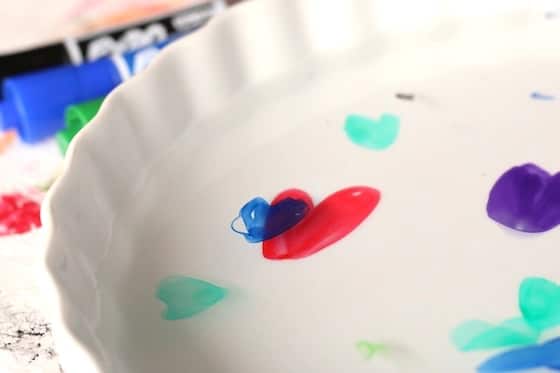
We found that a thicker layer of ink worked best, and the colours we used had varying results. We had the least success with the black ink. Sometimes the red ink floated quickly, and other times, like in the video above, the red wouldn't come away from the plate at all. Was this due to how hard we pressed? How much ink we used? Which colours work best for you?
2. Which drawing surface works best?
The disposable plastic plates didn't work as well as our dinner plate, and the quiche dish worked best of all. For some reason, our drawings seemed to stick to the dinner plate more than the quiche dish. The quiche dish was ideal too because of the rim. We could pour quite a bit of water into it and not have to worry about spills.
3. Do solid shapes float better than stick figures or letters?
Experiment with different types of drawings – letters, pictures, outlines, solid shapes etc. to see which ones float best.
4. Can you pick up your floating shapes!
What's really cool is that we were able to pick up our floating shapes with our fingers. When we did, they completely deflated and looked like a little strand of rubber, but when we gently placed them back on the surface of the water and jiggled them a little, they expanded back into their original shape and floated again.
5. Does the temperature of the water make a difference?
Try your experiment with hot, cold and room temperature water and observe your results.
And have fun trying the experiment over and over again!
Why DOES dry erase ink float?
If you'd like to know the science behind the dry erase and water experiment, this dry erase stick-man article explains how dry erase ink floats.
Learn more about EXPO Dry Erase Markers with Ink Indicator here. #EXPOTeacherWin
This post was sponsored by EXPO Markers. The ideas and opinions are my own.
Get the 3-5 Playful Preschool e-Book!
25+ Preschool activities by 25 bloggers, 10 printables, PLUS 50 links to activities not featured in the book.
Click here to download your copy today

Follow the Hooligans on Facebook!

Jackie is a mom, wife, home daycare provider, and the creative spirit behind Happy Hooligans. She specializes in kids' crafts and activities, easy recipes, and parenting. She began blogging in 2011, and today, Happy Hooligans inspires more than 2 million parents, caregivers and Early Years Professionals all over the globe.
Reader Interactions
Color a Dry Erase Board Black and Draw a Heart
Source: https://happyhooligans.ca/dry-erase-and-water-floating-ink/
0 Response to "Color a Dry Erase Board Black and Draw a Heart"
Post a Comment